IN THIS ARTICLE
Technical guides for ProAV
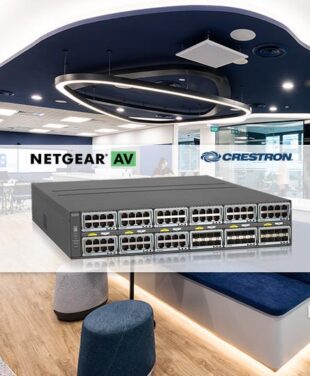
NETGEAR’s Pro AV solutions are engineered specifically for AV over IP with out-of-the-box support for every networked AV solution. Our technical guides will walk you through common procedures for installing our AV over IP products and solutions.
Jump to a Pro AV Guide:
- Finding Your Switches IP Address
- Installing the Engage Controller
- Engage Controller Switch Onboarding
- Updating ProAV Switch Firmware
- Engage Provisioning AV Profiles
- Configuring VLAN Routing Using Engage
- ProAV Network Topology
- Switch Stacking Configuration
- Unstacking Configuration
- Configuring DHCP Reservations Using Engage
- Configuring PIM-SD
- Configuring Access Point Ports with Multiple VLANs
- Initial Configuration for PR460X
- Visio Stencils for M4200, M4250, M4300, M4350, and M4500
Product Lines: M4250 | M4300 | M4350
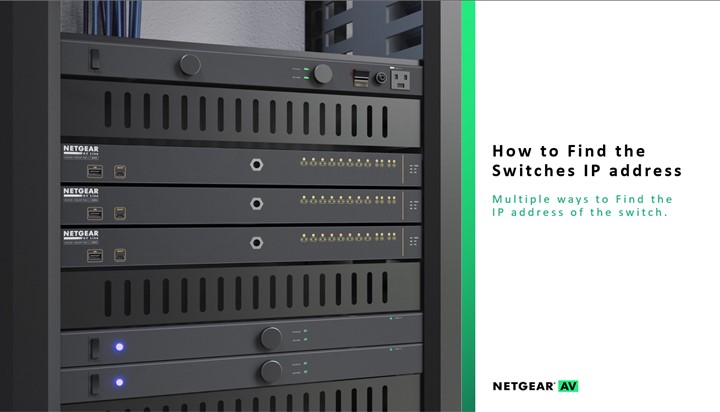
Finding Your Switches IP Address
In this guide we will go over how to find your managed switches IP address through various methods.
➤ Checking the DHCP leases
o Login to the DHCP server or the router that is doing DHCP and then look for the MAC address of the switch to see the address that it received.
➤ Default IP address
o This method requires us to assign a static IP address to our computer, the switch will not be connected to a DHCP server allowing it to go into its default IP address.
➤ Console Port
o To connect via console port. You will need to use the USB-C to USB-A cable to connect to the switch. For the computer to acknowledge the USB port as a console port we will install drivers from the NETGEAR support page of the switch and then use an application such as Tera Term or PUTTY to connect to the switch.
➤ OOB
o This method will consist of connecting directly to the OOB port on the switch and assigning a static IP address on the computer to access the switch.
Product Lines: M4250 | M4300 | M4350
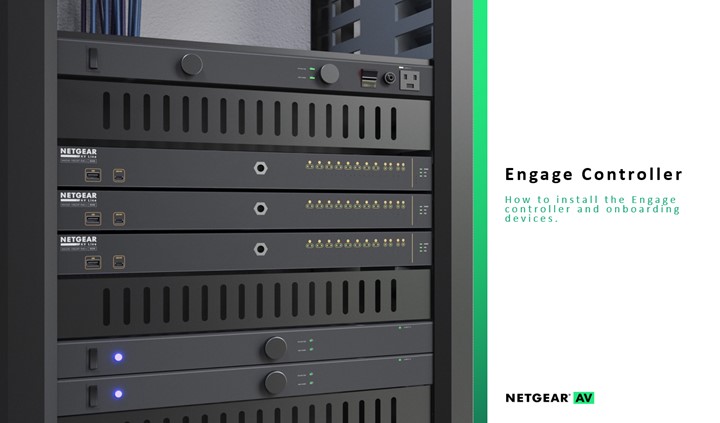
Installing The Engage Controller
This guide will go through installing the engage controller.
We will go through where to download the Engage controller and the installation process and how to discover your switch.
There is also a brief walkthrough of the “Devices” where we can view the switches that have been added to the controller and any switches that have been discovered on the network. The “Topology” where we can view the devices how they are connected. The “Site Settings” where you can configure profiles (VLANs) that will be applied to all the switches being managed. The “Support” tab where we can download the tech support files for the devices that are being managed by Engage. The “Controller Management” where we can create multiple sites for different AV networks.
Product Lines: M4250 | M4300 | M4350
Engage Controller Switch Onboarding
In this guide we will go over how to onboard a switch to the Engage controller.
o The Engage controller will scan the network for any ProAV switches. Once a switch is found you can then select it and onboard it to Engage.➤ IP Address
o This method is useful if the switch is on a separate VLAN and not on the same layer 2 network. We can point the Engage controller to the IP address of the switch.Download Guide: Engage Controller Switch Onboarding
Product Lines: M4250 | M4300 | M4350
Updating the Firmware
This guide will go through how to update the firmware on a ProAV managed switch.
o For this we will use the Engage controller to update the firmware without having to access the GUI of the switch we are updating.➤ Using the ProAV UI
o To update using the ProAV UI we will use the Engage controller to access the switch interface and update the firmware using the “Maintenance” menu on the switch.Download Guide: Updating ProAV Switch Firmware
Product Lines: M4250 | M4300 | M4350
Engage Provisioning AV Profiles
Please see the following guides below based on your desired ProAV profile.
o Part 1: we will configure the default VLAN with the “Dante” profile template.
o Part 2: we will configure a separate VLAN with the “Dante” profile template.
Download Guide: Dante➤ AES67 AV Over IP Requiring PTP Transparent Clock
o We will first change the profile for VLAN 1 to “AES67 Audio” using the Engage controller.
o Access each switch and enable “PTP residency time stamping.”
Download Guide: AES67 Guide➤ Audio and Video Over IP
o Create a VLAN with the “Video” profile template and select the ports on the switch.
o Create a VLAN with the “Audio Dante” profile template and select the ports.
Download Guide: Audio & Video over IP Guide➤ Audio Over IP and Lighting
o Create a VLAN with the “Audio Q-SYS” profile template and select the ports.
o Create a VLAN with the “Lighting” profile template and select the ports.
Download Guide: Audio Over IP and Lighting➤ AVB Configuration
o Part 1: We will configure the default VLAN with the “AVB” profile template.
o Part 2: We will create a separate VLAN with the “AVB” profile template.
Download Guide: AVB Configuration Guide➤ Multiple VLANs For Different Types of AV Over IP
o A. Create a VLAN with the “Audio Q-SYS” profile template and select the ports.
o B. Create a VLAN with the “Video” profile template and select the ports.
o C. Create a VLAN with the “Lighting” profile template and select the ports.
Download Guide: VLANs For Different Types of AV Over IP
Product Lines: M4250 | M4300 | M4350
Configuring VLAN Routing Using Engage
This guide will go through how to update the firmware on a ProAV managed switch.
For this configuration we will be using a M4300-8X8F as the core switch with two M4250-8G2XF-PoE+ switches.We will create 2 VLANs (VLAN 10, & VLAN 20). These VLANs will be created across all 3 switches, the VLANs on the core switch will also be configured with routing enabled, IP addresses, and DHCP pools.
We will go over how to create the routes on the firewall to point back to the core switch so that the VLANs will have Internet access.
Product Lines: M4250 | M4300 | M4350
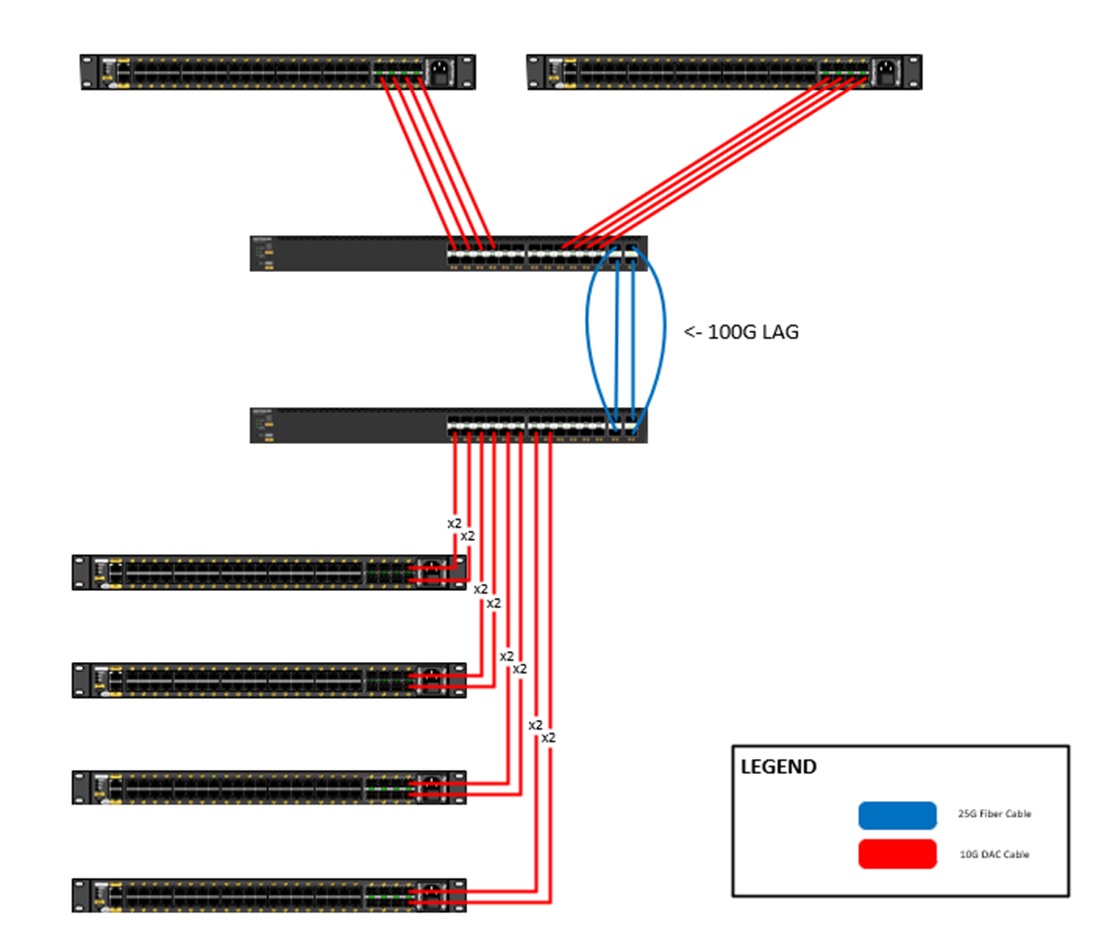
AV Network Topology
In this guide we will cover the proper topology setup for a ProAV network.
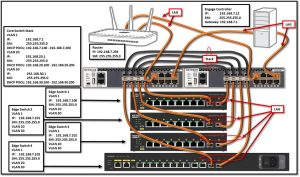 We will go over the different types of topologies and how they can affect your network.A network topology is made up of “nodes,” these are the devices in your network, such as routers, switches, and access points. This provides a physical and logical arrangement of how the traffic flows through your network.
Product Lines: M4250 | M4300 | M4350
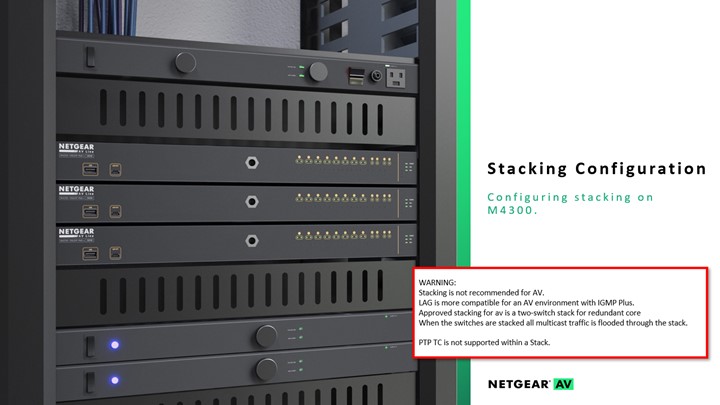
Switch Stacking Configuration
How to stack M4300 switches and recommendations when using audio video over a stack.
Make sure that the switches firmware has been updated to the latest available.We will configure each switch with a priority to tell them what one is the “Management” switch and what one is the “Stack Member.”
The ports on both switches need to be configured into “Stacking” mode before you connect the cables.Once the switches are configured, you will power down both switches, connect the stacking cables, and boot them up in order with the “Management” switch booting up before the “Stack Member.”
NOTE: The stacking configuration will not be cleared during a factory default. To remove the stacking configuration please refer to the “How to Unstack” guide.Download Guide: Switch Stacking Configuration
Product Lines: M4250 | M4300 | M4350
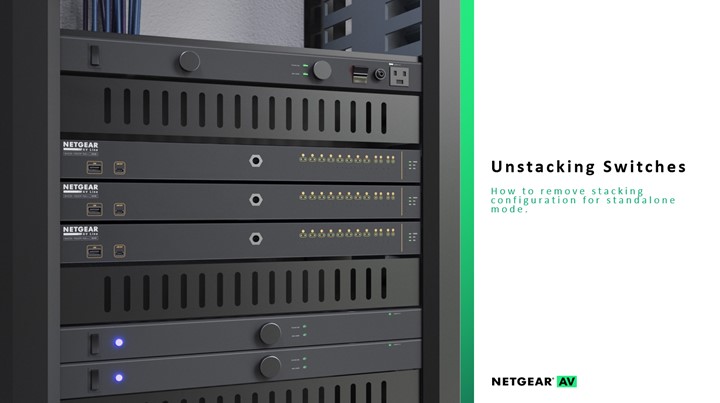
Switch Unstacking Configuration
How to remove stacking configuration for standalone mode.
The stacking configuration will not be cleared during a factory default, or when using the “clear config” command when using the CLI.This guide will show you how to remove the configuration through the CLI and how to reconfigure the ports on the switch from “Stack” to “Ethernet.”
Product Lines: M4250 | M4300 | M4350
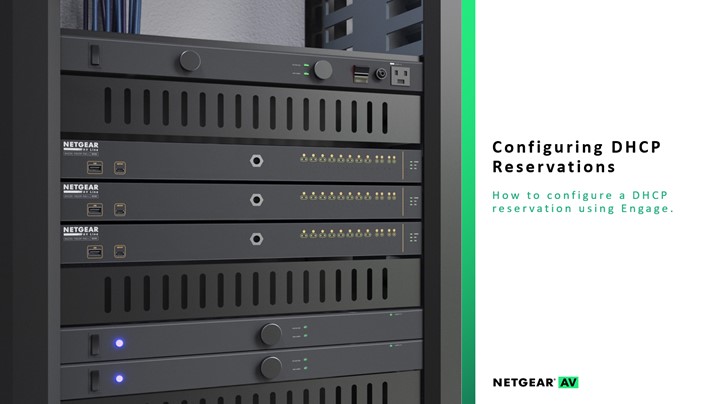
Configuring DHCP Reservations Using Engage
This guide will go through how to configure DHCP reservations using the Engage controller.
DHCP reservations allow us to configure the DHCP server to hand out a specific address depending on the MAC address of the device that is requesting an address.DHCP reservations can only be configured on the switch if the switch is the DHCP server.
Product Lines: M4250 | M4300 | M4350
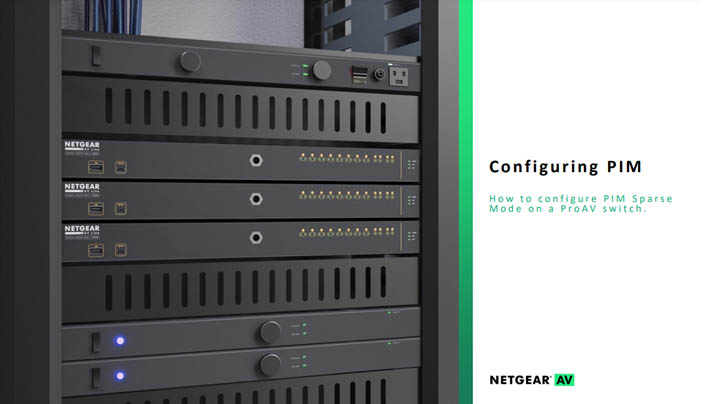
Configuring PIM-SM
This guide will go through configuring PIM-SM.
In this configuration we will go through the configuration for PIM-SM (Sparse Mode) on the core switch and then go through the configuration for additional switches on your network.This guide will go through creating the VLANs using the AV UI on the core and leaf switches and the differences between the configuration on the core switch compared to the leaf switches.
Product Lines: M4250 | M4300 | M4350
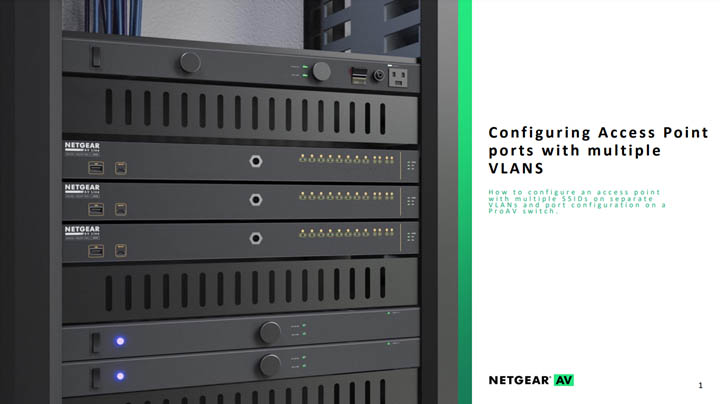
Configuring Access Point Ports with Multiple VLANs
This guide will go through the configuration for access point ports and creating SSIDs on separate VLANs.
We will then login to the access point and create the SSIDs and configure the SSIDs for each one of the VLANs.Download Guide: Configuring Access Points with Multiple VLANS
Product Lines: PR460X
Initial configuration for PR460X
This guide will go through the initial configuration for the PR460X router and how to change the LAN subnet.
In this guide we will go through the initial setup for the router at a factory default state and how to configure the LAN subnet.Download Guide: PR460X Onboarding
Product Lines: M4200, M4250, M4300, M4350, M4500
Visio Stencils for M4200, M4250, M4300, M4350, and M4500 Switches
This guide provide links to Visio Stencils for NETGEAR AV Switches.
Download the Visio Stencils for M4200, M4250, M4300, M4350, and M4500 Download Guide: NETGEAR AV Visio Stencils
More information
Visit our website to see the AV Solutions.

Discover everything you need to know about AVoIP and building an AV network.

Get free support for your AV project from our senior AV engineers.